How to create a new React JS project
Many people want to learn React JS, but they don’t know where to start. The most basic thing is to start by creating a new project in React JS. To create a new React JS project, you first need to make sure you have Node.js installed in your system. Make sure you have Node.js LTS version downloaded and installed in your system.
Contact us to hire a React developer.
Once you have Node.js installed in your system, run the following command:
npm install -g npxThis will install the NPX module globally. NPX is a command-line tool used to run NPM packages directly without needing to install them locally or globally.
Then run the following command to create a new folder for your React JS project:
npx create-react-app my-react-appReplace “my-react-app” with the folder name you want to be created. If you are planning to give spaces in the name of the folder, enclose them in double quotes “”. This will create a new folder named “my-react-app”. Open the terminal inside this folder and run the React JS project.
cd my-react-app
npm start
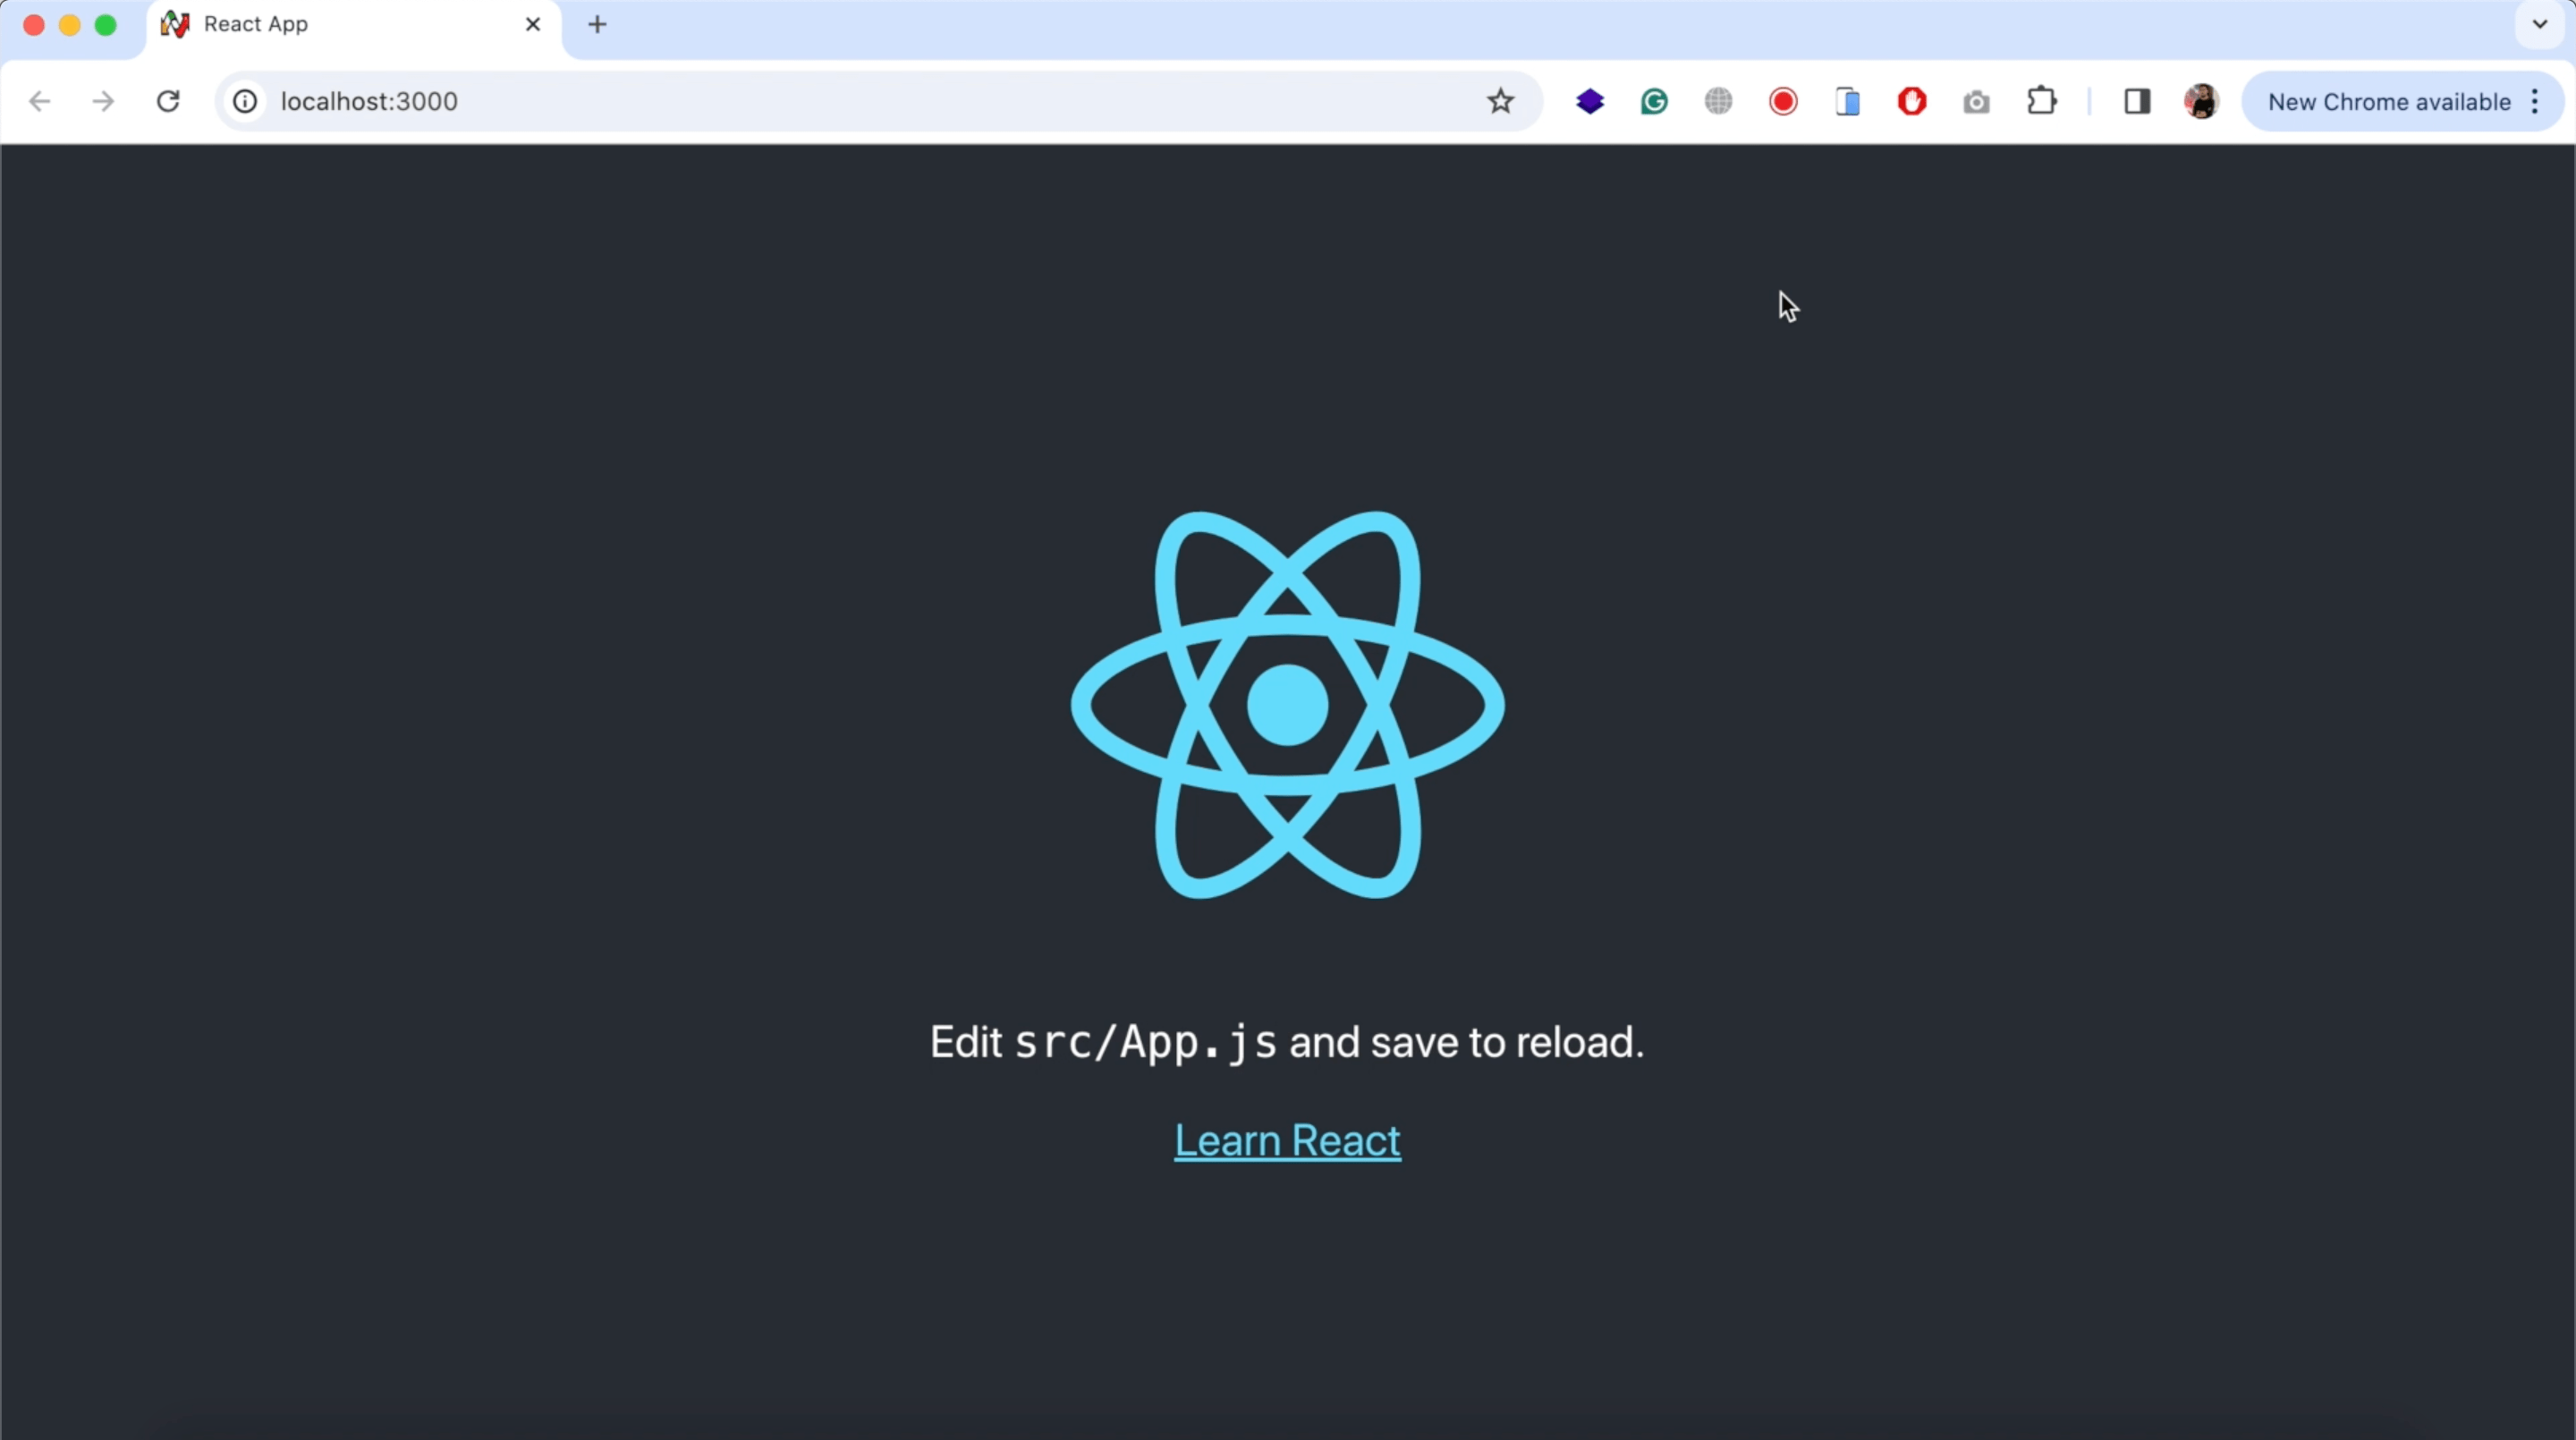
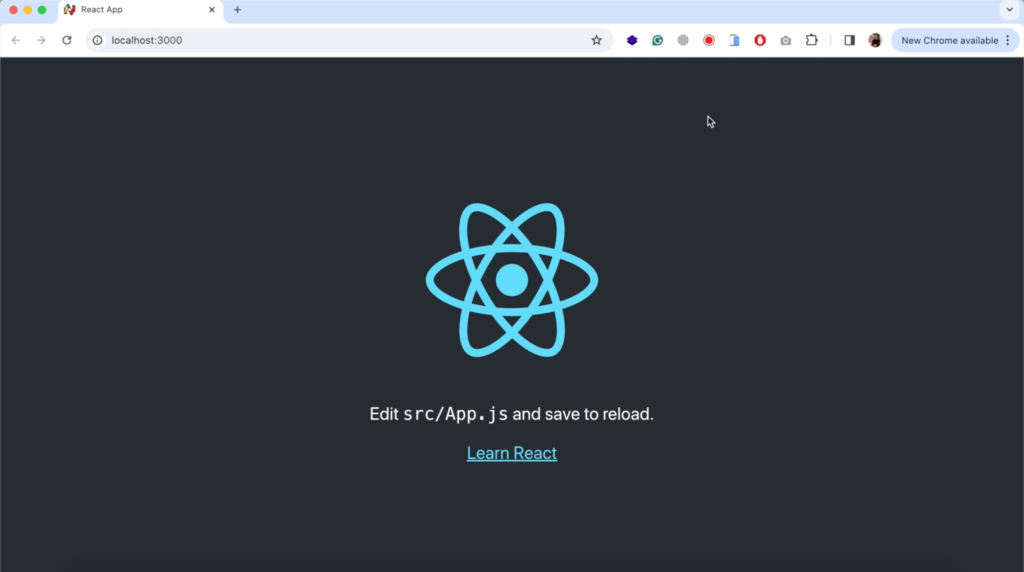
At this point, you will see the following page. It will automatically be opened in your browser:

We created a free Social Network project in React JS. You can download it and see the code to learn more.