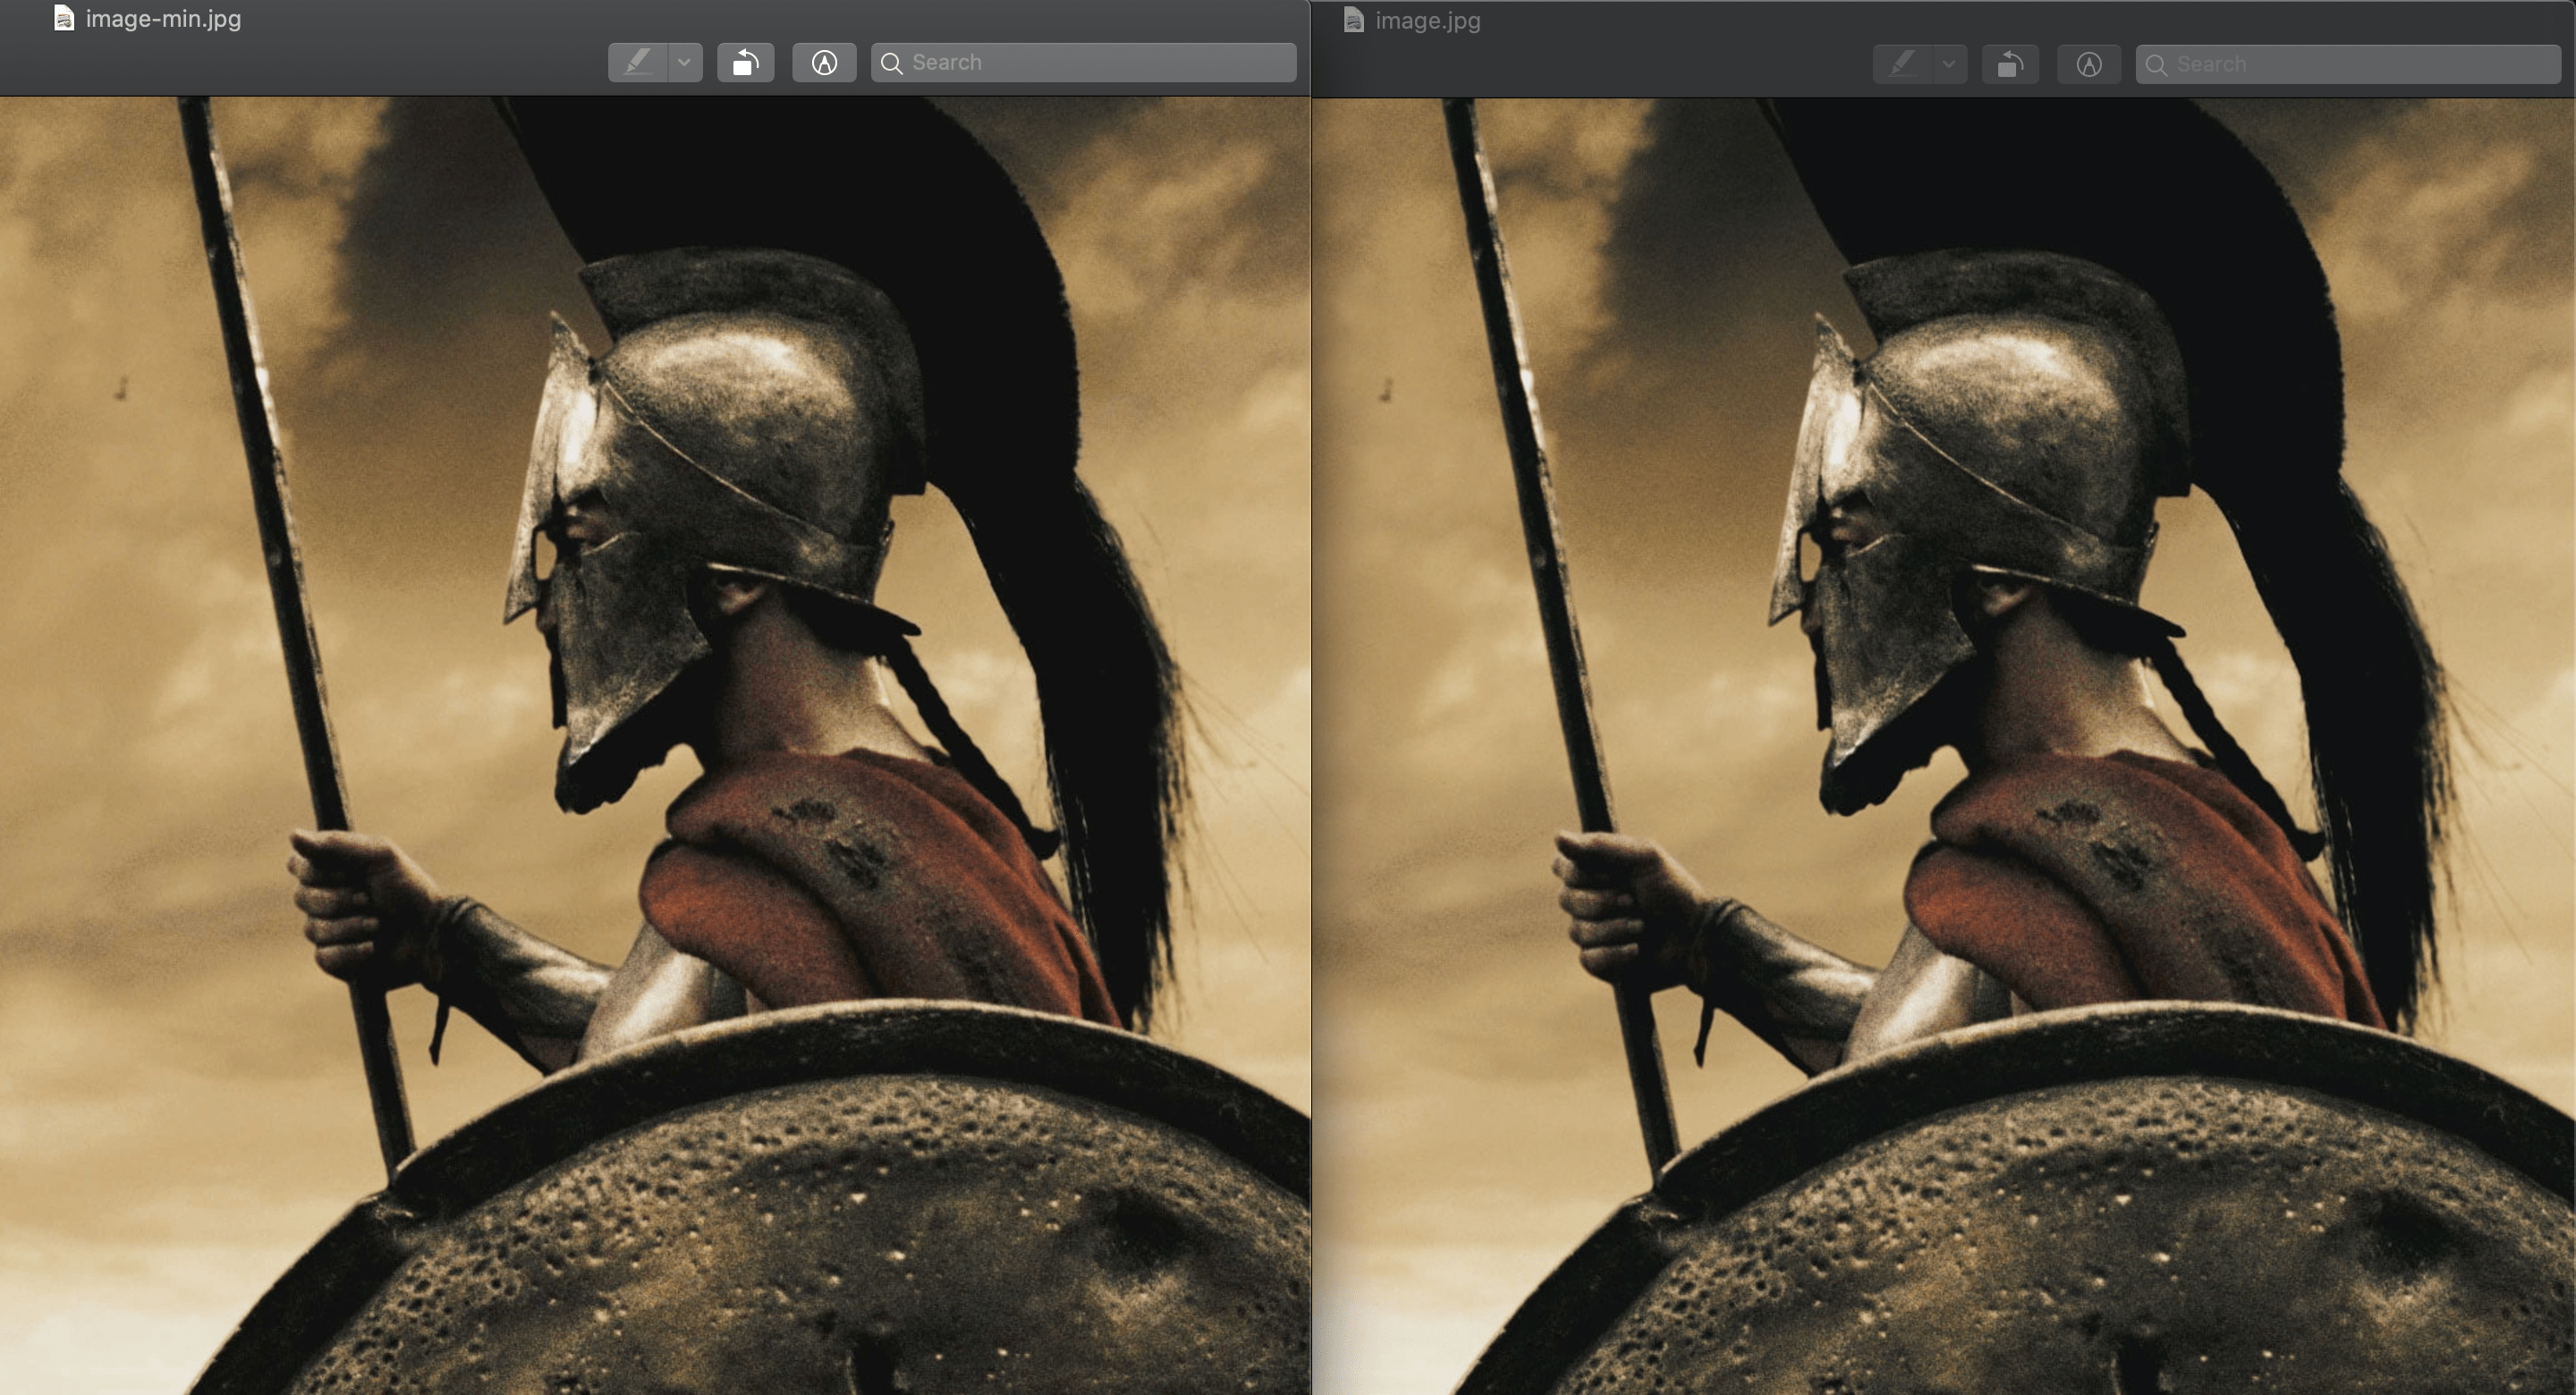
How to compress image in PHP
Previously, I wrote an article on how to compress images in Node JS. In this article, we will discuss how you can compress an image in PHP.
Let’s say you have an image named “image.png”. The following code will compress the file by half:
$source = "image.jpg";
$destination = "image-min.jpg";
$quality = 50;

$info = getimagesize($source);
$image = null;

if ($info["mime"] == 'image/jpeg')
{
    $image = imagecreatefromjpeg($source);
}

else if ($info["mime"] == 'image/gif')
{
    $image = imagecreatefromgif($source);
}

else if ($info["mime"] == 'image/png')
{
    $image = imagecreatefrompng($source);
}

if ($image != null)
{
    imagejpeg($image, $destination, $quality);
    echo "Image compressed";
}
Explanation:
- Line [1-3]: Setting the source and destination path. Also, the quality of the compressed image. It will be between 0 and 100. 0 means fully compressed and 100 indicates the original quality (although the file size will be reduced a little even on 100).
- [5, 6]: getimagesize will return the size and mime type of the image. We will be needing the mime type only.
- [8-21]: Creates a new image object based on file mime type.
- [23-27]: If any of the supported image types match, create a JPEG image from source to destination along with the quality of the new image. If the source and destination paths are the same, the original image will be replaced by the compressed image. That is why we are using a different name for the destination image.
Why use JPEG for compressed image
You might be wondering why while creating an image object, we are checking the mime type of image. But on compressing the image we are only using imagejpeg that creates a JPEG file. We use JPEG (Joint Photographic Experts Group) for image compression for the following reasons:
- Compression: JPEG decreases the file size a lot without losing the quality of the image. You won’t see much difference in quality from the original to the compressed image but the file size will be much less than the original one.
- Custom quality: You can set the quality of your choice from 0 to 100.
- User experience: When the user opens a JPEG file and if it is too large, it will first load the lower quality version of the image, which is usually a grayscaled image. Then it loads the image in its original colors. This is pretty useful on slow internet.
Laravel
If you are working in Laravel, you might be facing difficulty because Laravel uses separate “storage” folder for handling all user uploaded files. Also, it creates a symbolic link to the public folder. So it gets a little confusing for developers on how to read image from storage and save the compressed image on storage.
Just change your source and destination variables to the following:
$source = base_path("public/storage/image.jpg");
$destination = base_path("storage/app/public/image-min.jpg");
To get the mime type of an image in Laravel, you can use the following code:
$file = request()->file("image");

if ($file->getClientMimeType() == 'image/jpeg')
{
    //
}
Complete code for Laravel developers will be:
if (request()->file("image"))
{
    $file = request()->file("image");

    $file_path = "images/" . $file->getClientOriginalName();
    $file->storeAs("/public", $file_path);

    $source = base_path("public/storage/" . $file_path);
    $destination = base_path("storage/app/public/" . $file_path);
    $quality = 50;

    // $info = getimagesize($source);
    $image = null;

    if ($file->getClientMimeType() == 'image/jpeg')
    {
        $image = imagecreatefromjpeg($source);
    }

    else if ($file->getClientMimeType() == 'image/gif')
    {
        $image = imagecreatefromgif($source);
    }

    else if ($file->getClientMimeType() == 'image/png')
    {
        $image = imagecreatefrompng($source);
    }

    if ($image != null)
    {
        imagejpeg($image, $destination, $quality);
        return "Image compressed";
    }
}
Note: Only the source and destination paths are changed and the way image mime type is get.
With that said, this concludes my article on how to compress an image in PHP. If you face any problem in following this, kindly do let me know.