Routing in React JS
Routing in React JS can be achieved using a module “react-router-dom”. This module provides all the functionality required for creating links and displaying components based on the current route.
Installing “react-router-dom”
First, you need to install this module by running the following command at the root of your project:
npm install react-router-domCreating routes
Then open the “src/App.js” file and import BrowserRouter from “react-router-dom”.
// src/App.js

import { BrowserRouter } from "react-router-dom"
Then wrap all the tags of function App() inside BrowserRouter.
function App() {
  return (
    <BrowserRouter>
      <div className="App">
        <header className="App-header">
          <img src={logo} className="App-logo" alt="logo" />
          <p>
            Edit <code>src/App.js</code> and save to reload.
          </p>

          <a
            className="App-link"
            href="https://reactjs.org"
            target="_blank"
            rel="noopener noreferrer"
          >
            Learn React
          </a>
        </header>
      </div>
    </BrowserRouter>
  );
}
Then import Routes from “react-router-dom” and create its tag where you want to display the component when a specific link is accessed.
import { BrowserRouter, Routes } from "react-router-dom"

function App() {
  return (
    <BrowserRouter>
      <div className="App">
        <header className="App-header">
          <img src={logo} className="App-logo" alt="logo" />
          <p>
            Edit <code>src/App.js</code> and save to reload.
          </p>

          <Routes>

          </Routes>

          <a
            className="App-link"
            href="https://reactjs.org"
            target="_blank"
            rel="noopener noreferrer"
          >
            Learn React
          </a>
        </header>
      </div>
    </BrowserRouter>
  );
}
After that, import Route from “react-router-dom” and create as many routes as required inside the Routes tag.
import { BrowserRouter, Routes, Route } from "react-router-dom"

function App() {
  return (
    <BrowserRouter>
      <div className="App">
        <header className="App-header">
          <img src={logo} className="App-logo" alt="logo" />
          <p>
            Edit <code>src/App.js</code> and save to reload.
          </p>

          <Routes>
              <Route path="/" element={ <Home /> } />
              <Route path="/About" element={ <About /> } />
          </Routes>

          <a
            className="App-link"
            href="https://reactjs.org"
            target="_blank"
            rel="noopener noreferrer"
          >
            Learn React
          </a>
        </header>
      </div>
    </BrowserRouter>
  );
}
Then you need to import these components.
import Home from "./components/Home"
import About from "./components/About"

function App() {
	...
}
Creating components
Create a folder named “components” inside your “src” folder and create 2 files in it.
- src/components/Home.js
- src/components/About.js
Following will be the code of these 2 files.
// src/components/Home.js

function Home() {
	return (
		<h1>Home</h1>
	)
}

export default Home
// src/components/About.js
function About() {
return (
<h1>About</h1>
)
}
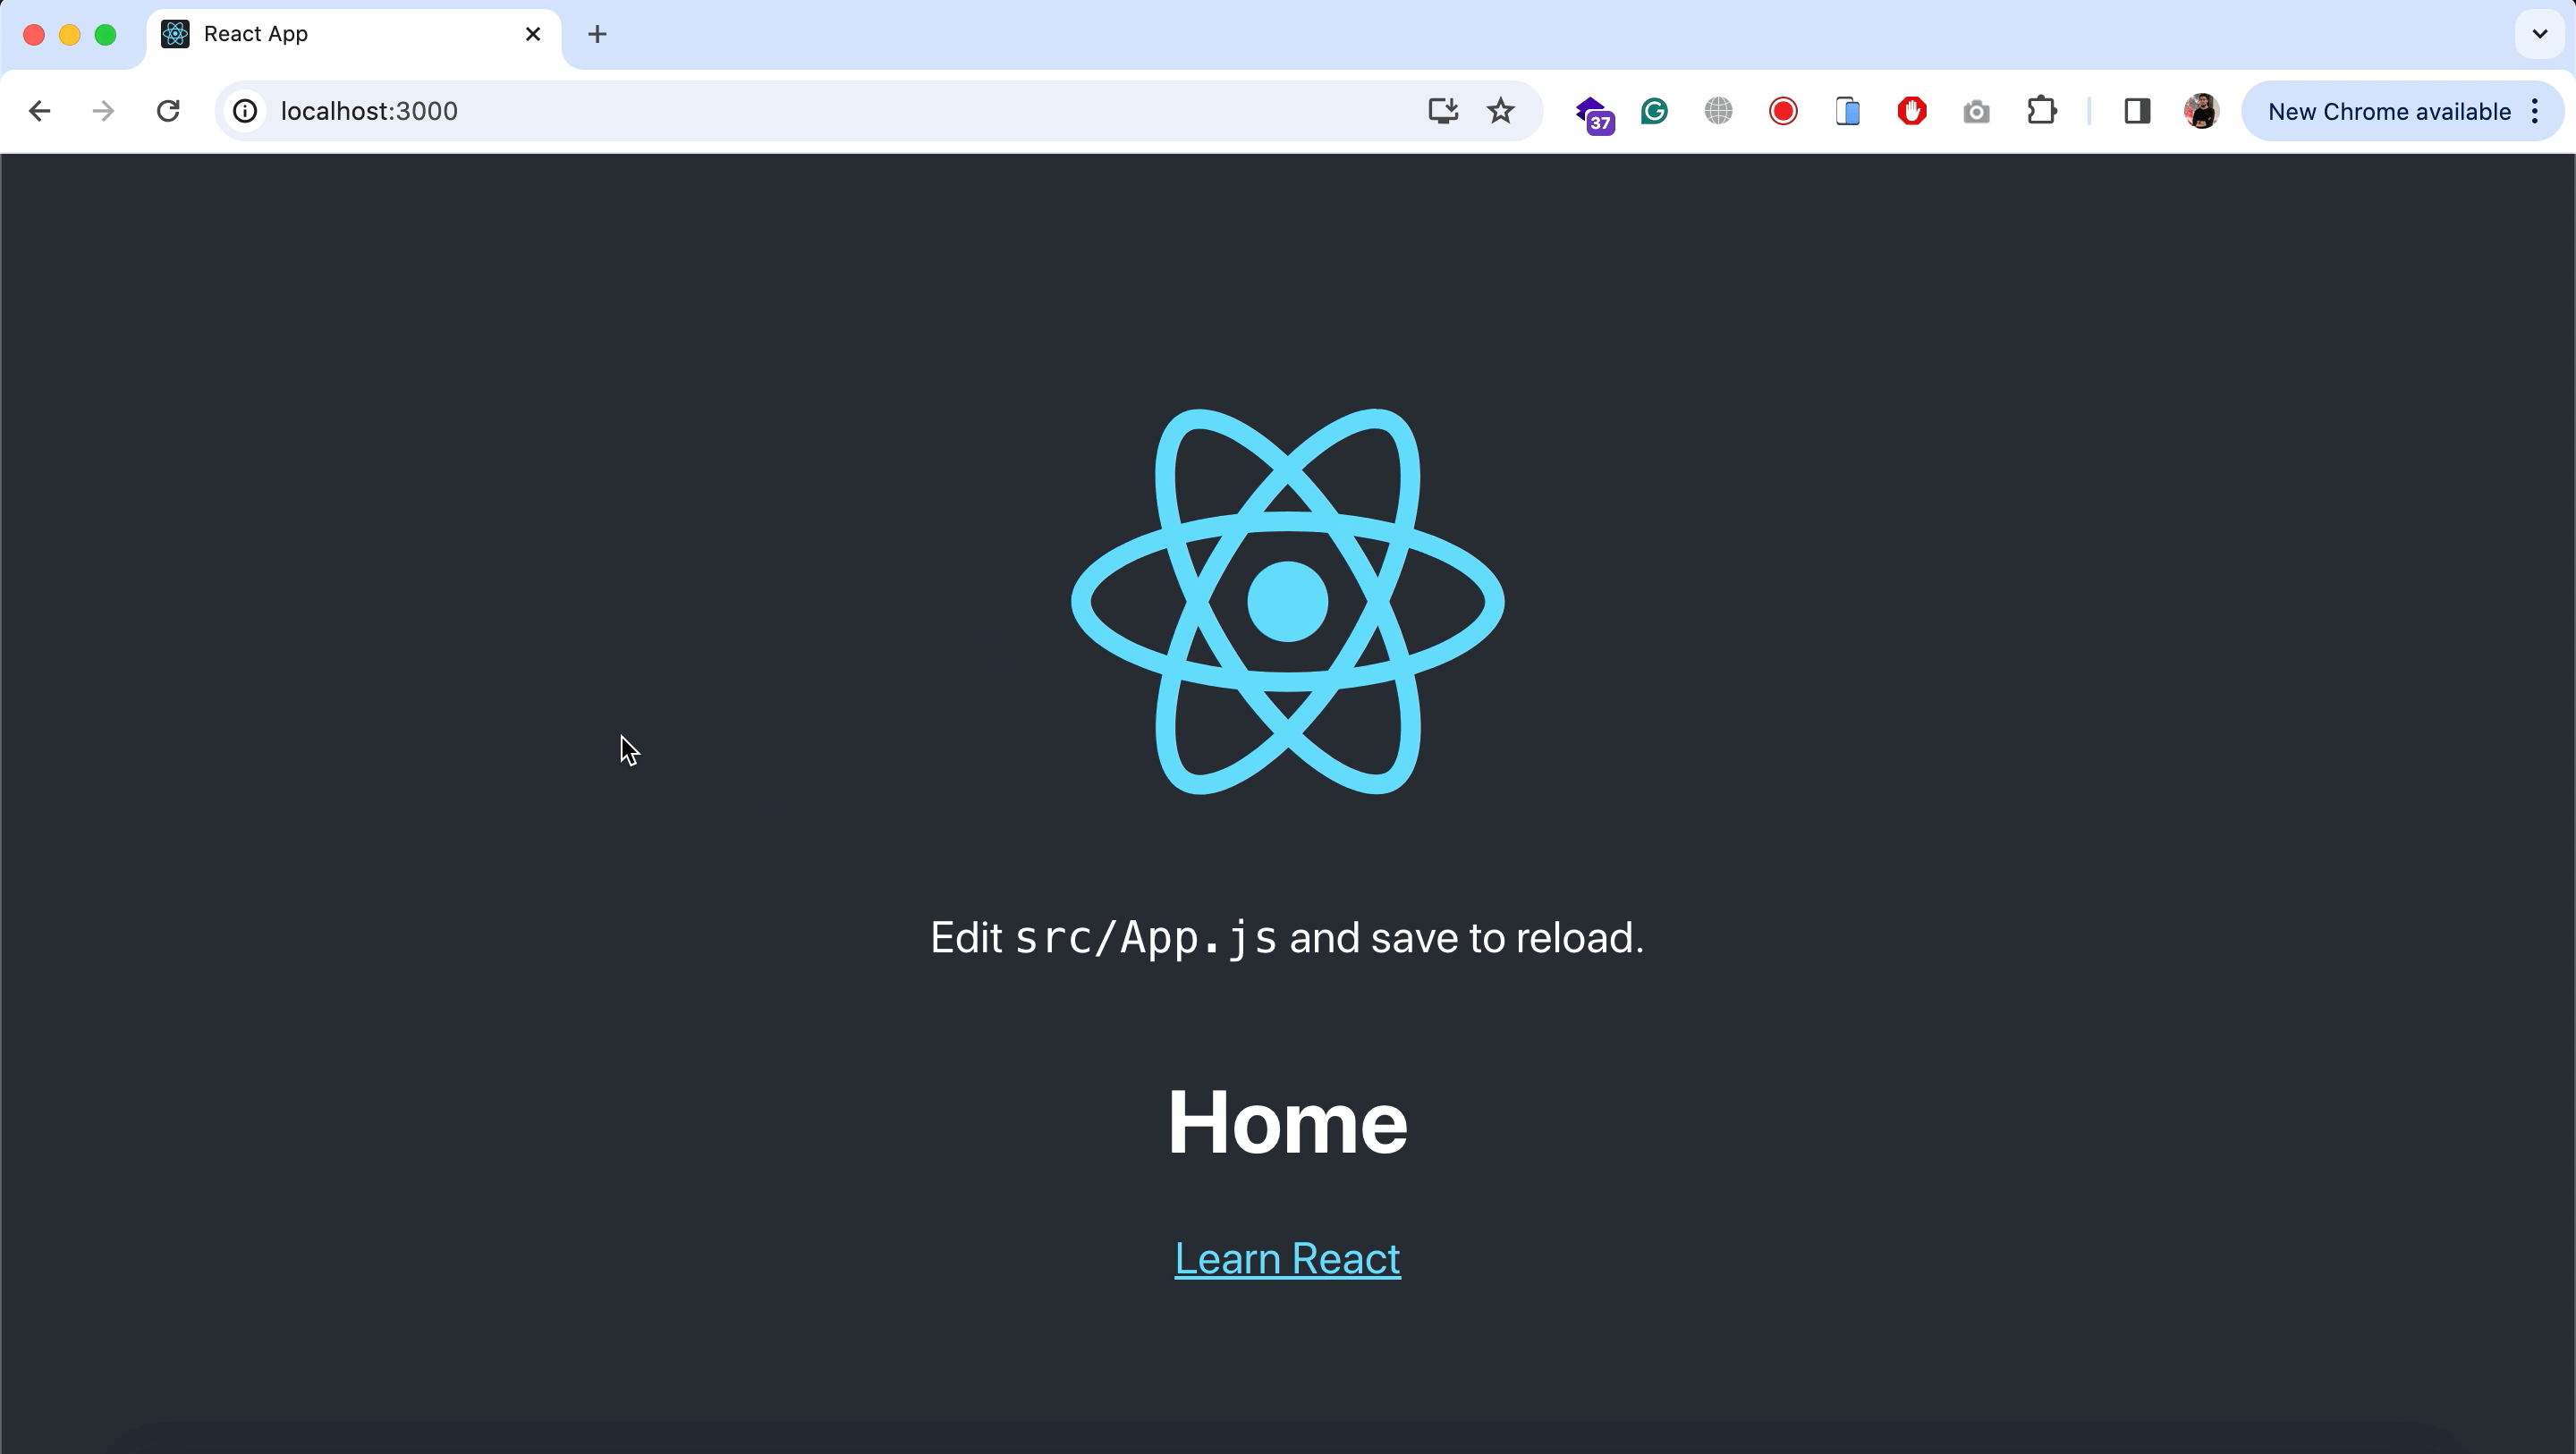
export default AboutAt this point, you will see the Home component at the main route.

Creating navigation links
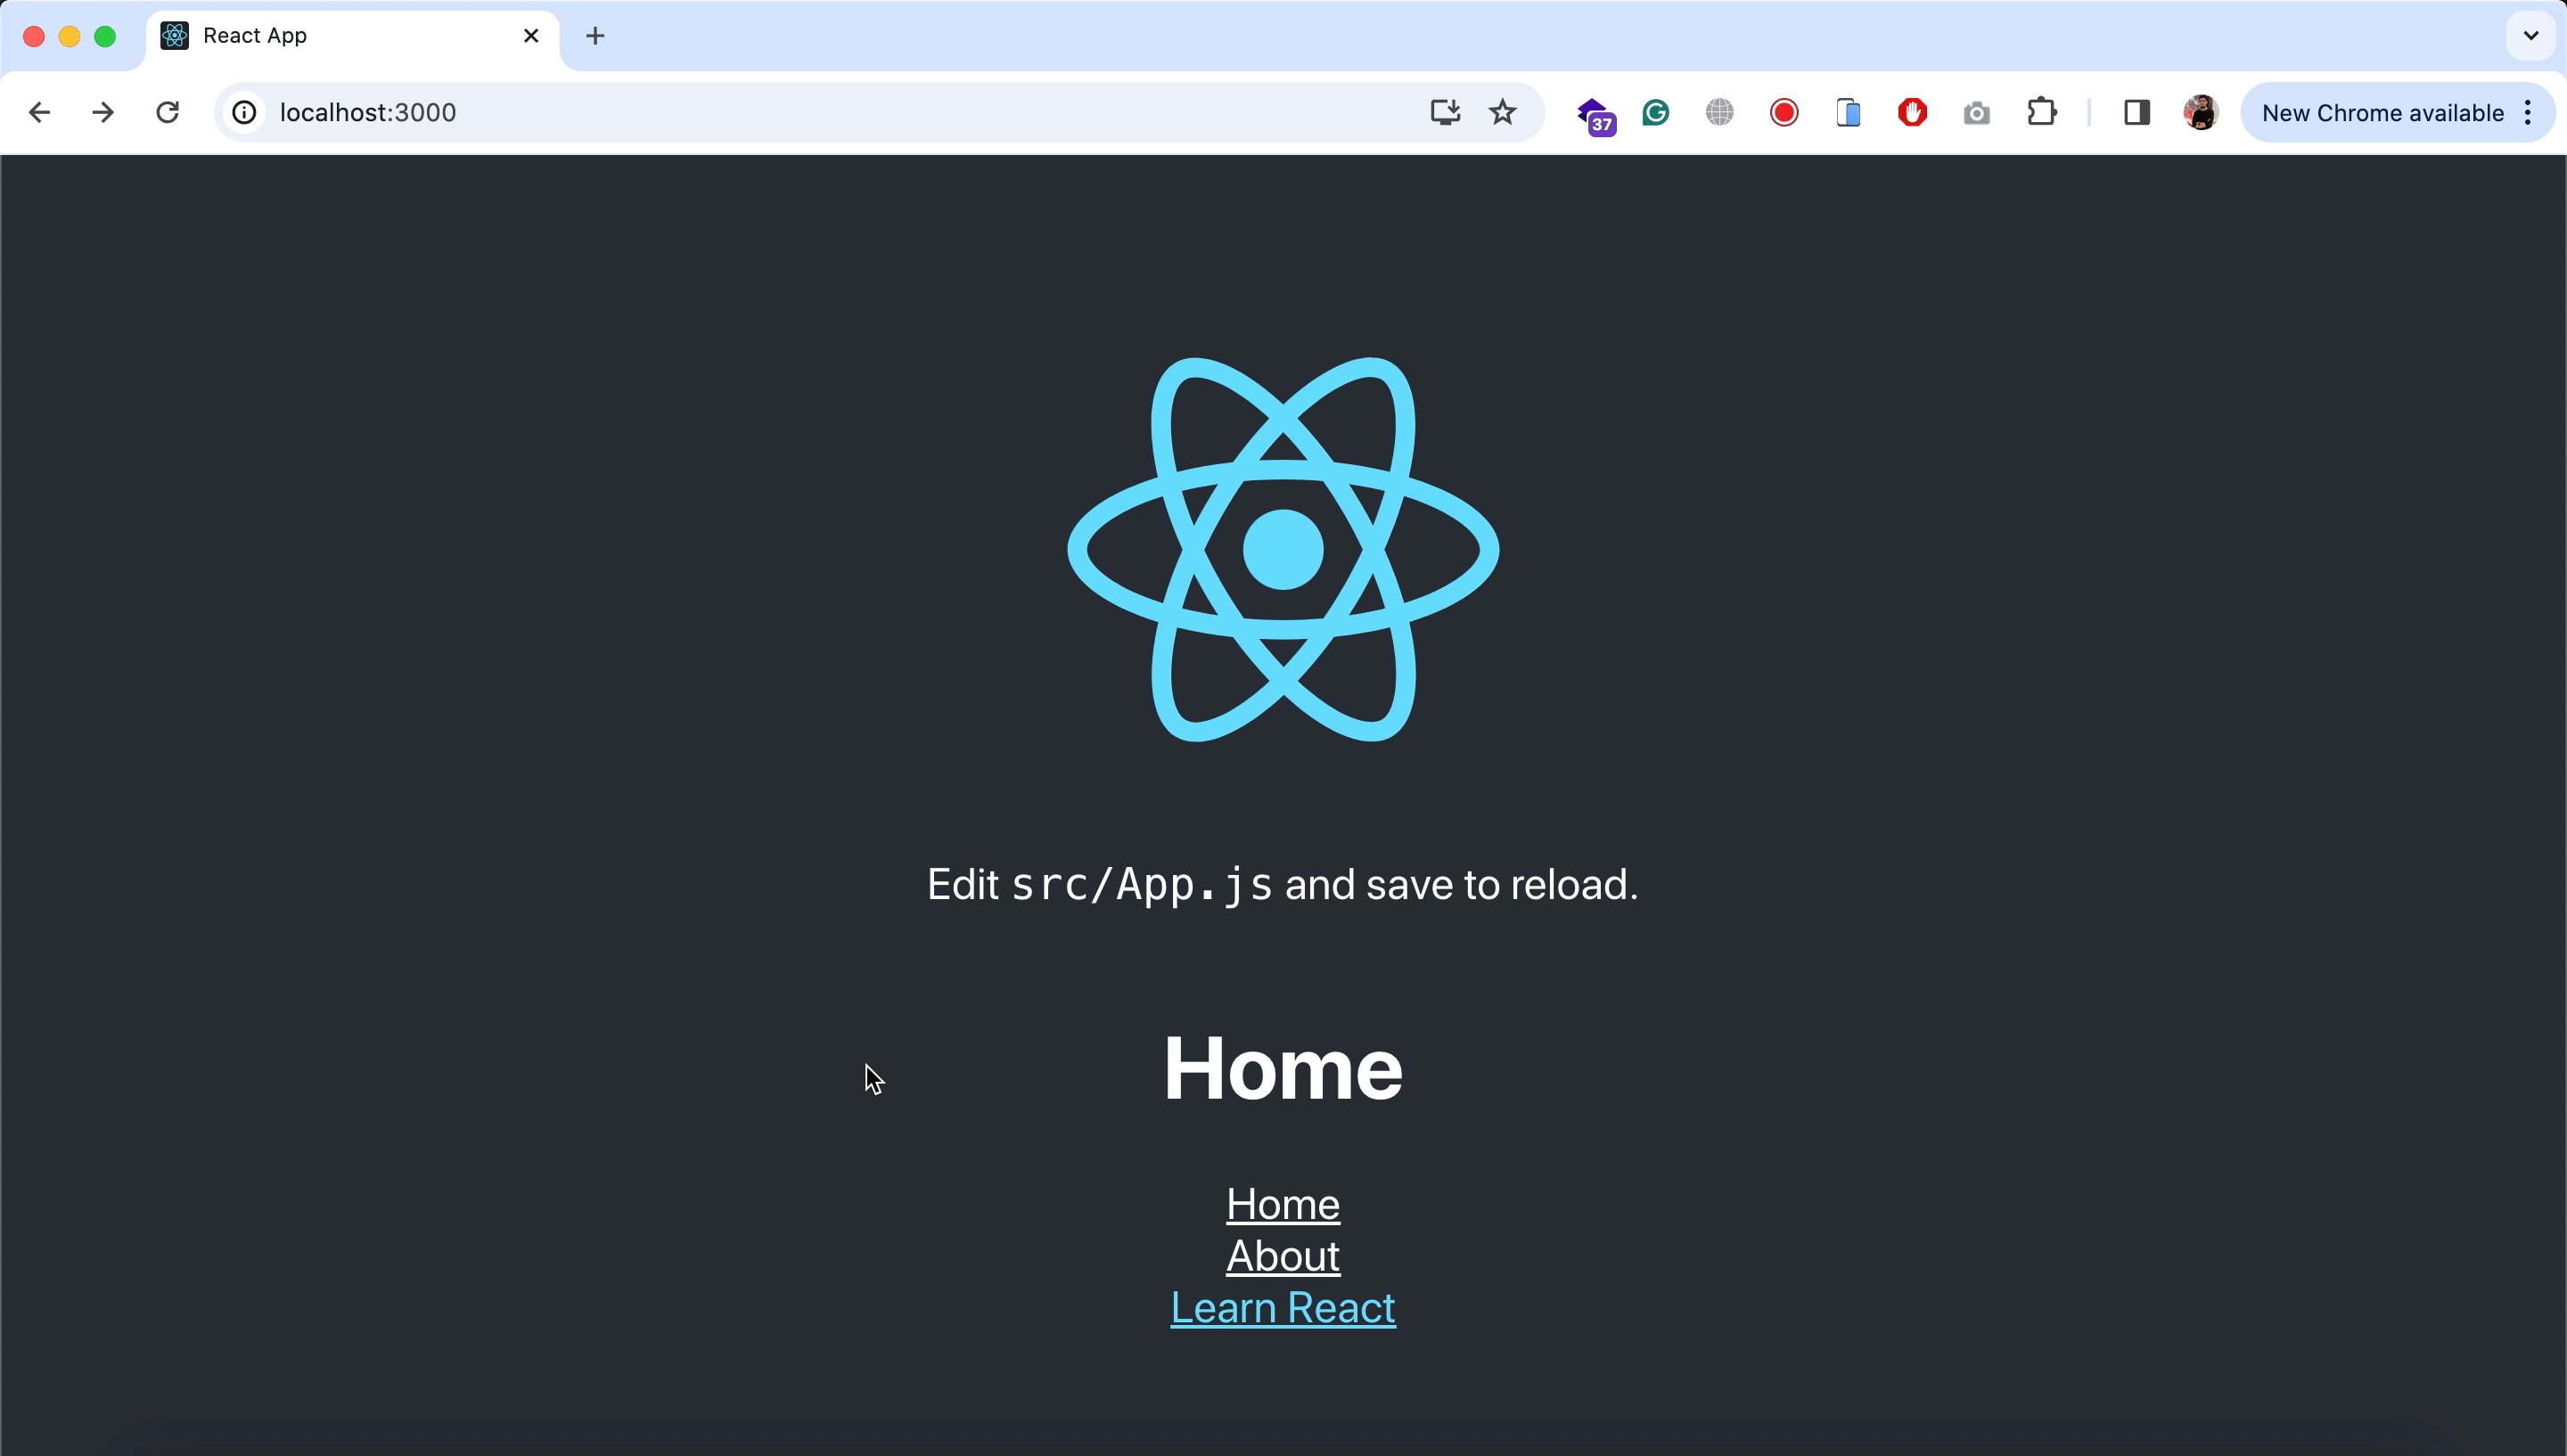
Now we need to create navigation links for each route. So import the Link from “react-router-dom” and create 2 links from it.
import { BrowserRouter, Routes, Route, Link } from "react-router-dom"

function App() {
  return (
    <BrowserRouter>
      <div className="App">
        <header className="App-header">
          <img src={logo} className="App-logo" alt="logo" />
          <p>
            Edit <code>src/App.js</code> and save to reload.
          </p>

          <Routes>
              <Route path="/" element={ <Home /> } />
              <Route path="/About" element={ <About /> } />
          </Routes>

          <Link to="/" style={{
            color: "white"
          }}>
            Home
          </Link>

          <Link to="/About" style={{
            color: "white"
          }}>
            About
          </Link>

          <a
            className="App-link"
            href="https://reactjs.org"
            target="_blank"
            rel="noopener noreferrer"
          >
            Learn React
          </a>
        </header>
      </div>
    </BrowserRouter>
  );
}
If you refresh the page now, you will see 2 links. On clicking any link, you will see that its relevant component is displayed.

Additional: Lazy load components
You can also lazy load your components, which means that your component will only be imported when it is accessed. It is great for larger apps where a large number of components are being created. For that, first, you need to import lazy from “react”.
import { lazy } from "react"Then you need to change the way you are importing your components.
// import Home from "./components/Home"
// import About from "./components/About"

const Home = lazy(function () {
  return import ("./components/Home")
})

const About = lazy(function () {
  return import ("./components/About")
})
When lazy loading your components, you need to wrap your <Routes> tag inside Suspense. So import it and wrap your routes inside it.
import { lazy, Suspense } from "react"

function App() {
  return (
    <BrowserRouter>
      <div className="App">
        <header className="App-header">
          <img src={logo} className="App-logo" alt="logo" />
          <p>
            Edit <code>src/App.js</code> and save to reload.
          </p>

          <Suspense fallback={ <h3>Loading...</h3> }>
            <Routes>
              <Route path="/" element={ <Home /> } />
              <Route path="/About" element={ <About /> } />
            </Routes>
          </Suspense>

          <Link to="/" style={{
            color: "white"
          }}>
            Home
          </Link>

          <Link to="/About" style={{
            color: "white"
          }}>
            About
          </Link>

          <a
            className="App-link"
            href="https://reactjs.org"
            target="_blank"
            rel="noopener noreferrer"
          >
            Learn React
          </a>
        </header>
      </div>
    </BrowserRouter>
  );
}
fallback is used to display a UI component until the actual component gets loaded.
So that’s it. That’s how you can create routing in your React JS app. If you face any issues in following this, kindly do let me know. I created a Social Networking website in React JS that uses this routing mechanism. You can download it from here for free.